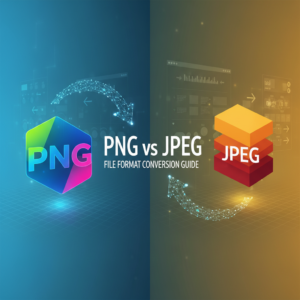
How to Convert PNG to JPEG without quality loss
In today’s digital landscape, images are indispensable—from personal albums to professional presentations. While PNG (Portable Network Graphics) files are widely used for their support of transparency and high quality, there are times when converting them to JPEG (Joint Photographic Experts Group) format is necessary. JPEG files are typically smaller in size, making them easier to share and use across various platforms. However, one common concern when converting PNG to JPEG is the potential loss of quality. In this article, we will guide you through the process of converting PNG to JPEG on Windows without experiencing that quality loss.
Understanding PNG and JPEG Formats
Before diving into the conversion process, it’s essential to understand the differences between PNG and JPEG formats. Each has its own set of advantages and downsides that can affect your choice depending on your specific needs.
- PNG Format: PNG is a lossless image format, meaning it retains all the data from the original image. It supports transparency, making it ideal for graphics, logos, and images where quality is paramount.
- JPEG Format: JPEG is a lossy format, which means that some data is lost during compression. It is perfect for photographs and images with gradients as it achieves significant file size reduction while maintaining acceptable quality.
Why Convert PNG to JPEG?
There are several reasons why you might choose to convert PNG files to JPEG:
- Reduced File Size: JPEGs tend to be much smaller in size, which is beneficial for web use and online sharing.
- Compatibility: JPEG is one of the most universally compatible formats, making it easier to share images across different devices and platforms.
- Faster Load Times: Smaller file sizes lead to quicker load times on websites, improving user experience.
Best Methods to Convert PNG to JPEG on Windows
Now that you’ve got a handle on the basics, let’s look at some effective methods for converting PNG files to JPEG without losing quality.
Method 1: Using Built-in Windows Tools
Windows comes equipped with built-in tools like Paint that allow you to convert images without the need for additional software.
- Open the PNG image in Paint: Right-click the PNG file, hover over “Open with,” and select “Paint.”
- Save As JPEG: Once the image is open, click on “File” in the top-left corner, then select “Save as” and choose “JPEG picture” from the options.
- Name Your File: Enter a new name or keep the current name as you save the image in JPEG format. Ensure that the file type dropdown shows .jpg.
- Check Quality: After saving, open your new JPEG file to check if the quality has remained satisfactory.
Method 2: Using Online Conversion Tools
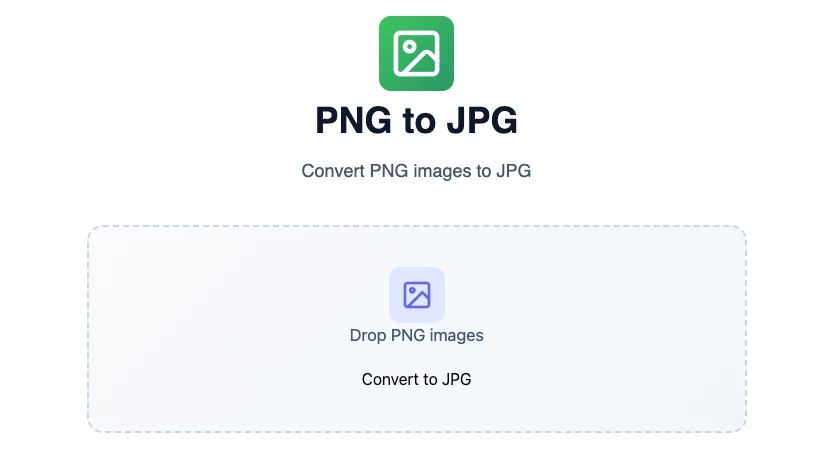
If you prefer an online solution, there are various tools available that efficiently handle PNG to JPEG conversions without major quality loss. One highly recommended resource is Omnitools, which offers a user-friendly interface for image conversion.
- Visit the Website: Go to Omnitools.
- Upload Your PNG: Click on the option to upload your PNG file. Wait for the upload to complete.

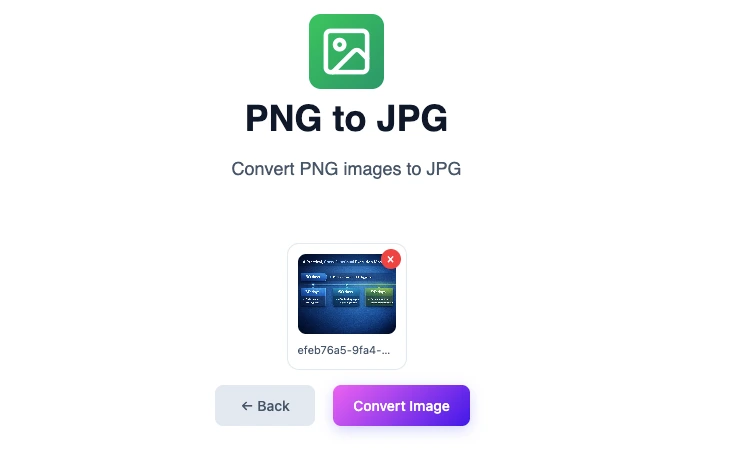
- Wait for Image upload : Wait for the image to complete uploading based on the size of your uploaded PNG file.
- Convert and Download: Click the “Convert Image” button and, once the process is complete, download your JPEG file.
- Check Quality: Always review the resulting JPEG file to ensure the quality meets your standards.
Method 3: Using Software Applications
For frequent conversions or larger batches, it can be convenient to use dedicated software. Programs like Adobe Photoshop or GIMP provide extensive options for file conversion while maintaining image quality.
- Open Your Software: Launch the application such as Photoshop or GIMP.
- Import the PNG File: Use “File > Open” to select and import your PNG image.
- Adjust Image Settings (if needed): You can tweak brightness, contrast, or size to enhance your image before conversion. However, be cautious not to overdo it if quality is your concern!
- Export the Image: Navigate to “File > Export As” and select JPEG format. Make sure to adjust the quality settings to achieve a balance between file size and image quality.
- Save and Verify: Save your JPEG file and then review it to ensure it meets your expectations.
Another free alternative of Adobe Photoshop is Photopea, which is an online tool for online image editing and conversion.
Tips for Quality Preservation During Conversion
To ensure that you convert PNG to JPEG without quality loss, consider the following tips:
- Choose High Resolution: Always start with the highest resolution of your PNG file to retain as much detail as possible during conversion.
- Minimize Over-Editing: While it’s tempting to edit images before conversion, excessive adjustments can degrade quality. Keep edits to a minimum.
- Set Optimal Compression Levels: If using software, adjust JPEG quality settings. Use the highest quality level without going overboard on file size.
Common Issues When Converting PNG to JPEG
Even with the best methods, certain challenges may arise during the conversion process. Here are some common issues and how you might address them:
- Transparency Loss: JPEGs do not support transparent backgrounds. If your PNG has transparency, it will be filled with a default color, typically white. You can edit the PNG file beforehand to replace transparent areas with a solid color if needed.
- Compression Artifacts: Excessive compression can lead to artifacts and a lower quality image. Always balance file size and quality settings during conversion.
- Metadata Loss: Some metadata contained in PNG files may not transfer to JPEGs. This can include file history and edit logs. Keep a backup of your original files if this data is essential.
Conclusion
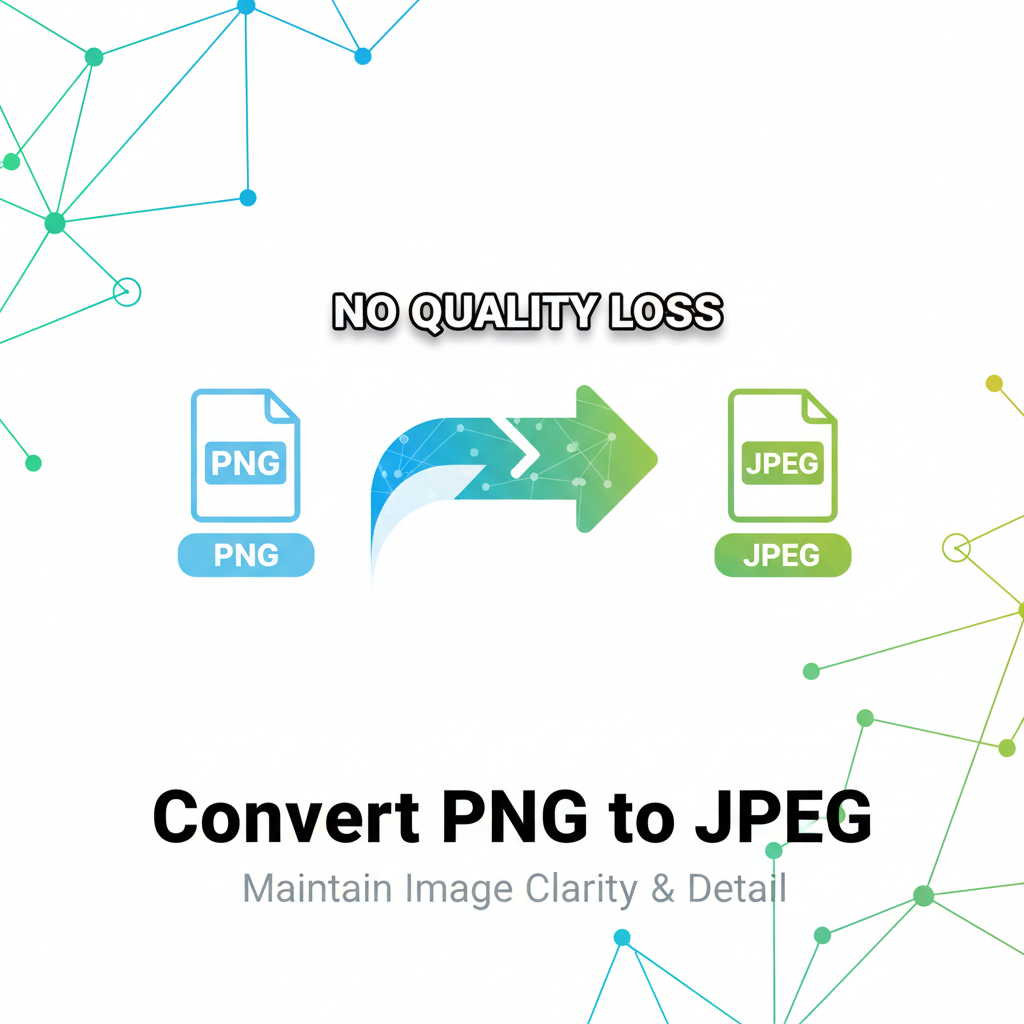
Converting PNG to JPEG can indeed be done without sacrificing image quality, provided you use the right tools and methods. Whether you’re utilizing built-in Windows software, choosing online tools like Omnitools, or leveraging advanced applications, the key lies in understanding how to optimize settings for your specific needs. By following the steps and tips outlined in this guide, you can confidently convert your images while retaining their quality for professional or personal use.
FAQ
What is the difference in quality between PNG and JPEG formats?
PNG is a lossless format, preserving all original data and quality, while JPEG sacrifices some quality for reduced file size, making it lossy.
Can I convert multiple PNG files to JPEG at once?
Yes, many software applications and online tools support batch processing, allowing you to convert multiple PNG files to JPEG simultaneously.
Does converting PNG to JPEG impact image quality?
When done correctly, you can minimize quality loss during conversion. However, because JPEG is lossy, some data will always be lost compared to the PNG original.
Are there any free tools to convert PNG to JPEG without losing quality?
Yes, online tools like Omnitools offer free PNG to JPEG conversion with minimal quality loss.
Is there a way to maintain the transparent background in my PNG file when converting to JPEG?
No, JPEG does not support transparency. If your PNG contains transparency, it will be replaced with a solid color upon conversion.
How do I check the quality of a JPEG after conversion?
Open the JPEG file using an image viewer to inspect details like clarity, sharpness, and any artifacts that may have emerged during the conversion.